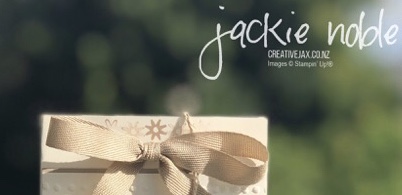
Part of My Story meets Floral Romance

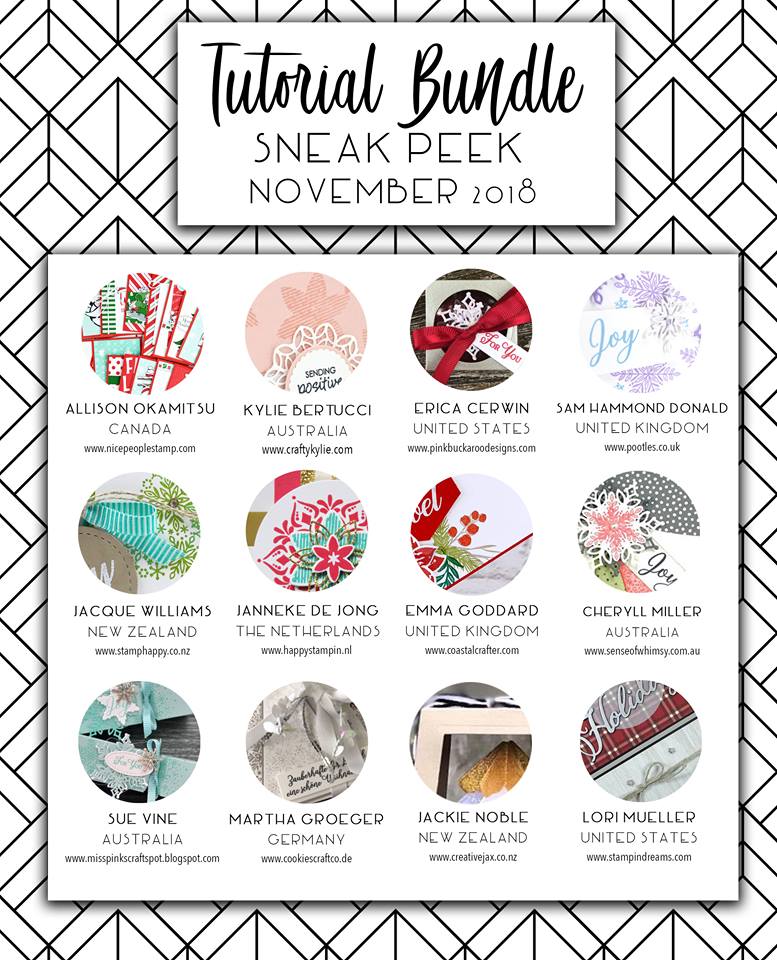
All Star Tutorial Bundle
All Star Tutorial Bundle Design Team Blog Hop
Supplies:
- Gold Foil-Edged Cards & Envelopes
- Vellum from Floral Romance Specialty DSP: 3 1/2″ x 5″ (to fit inside the gold edging)
- Blackberry Bliss Cardstock: 3 1/2″ x 2″
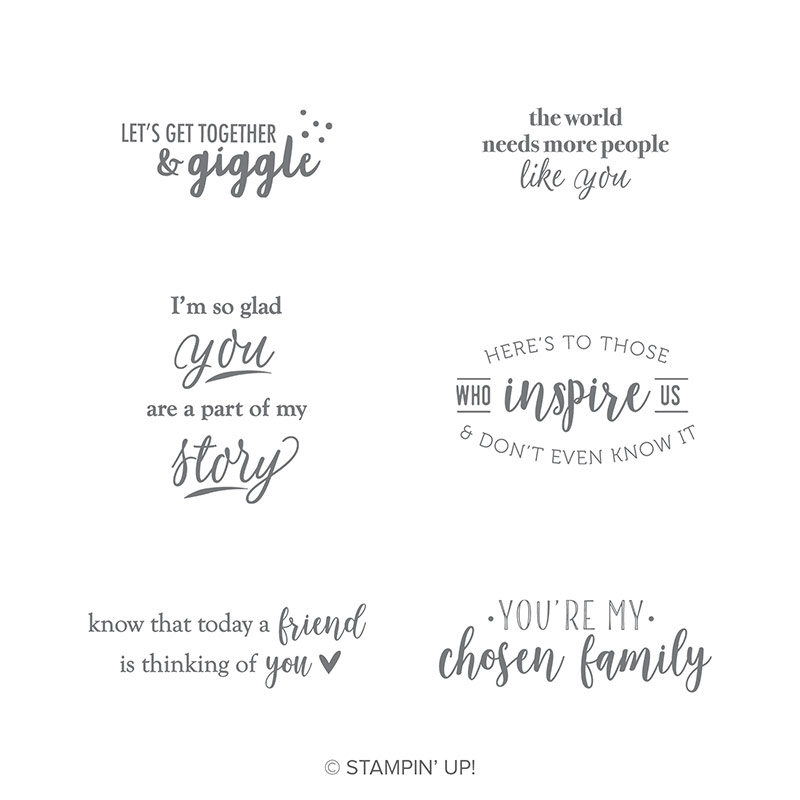
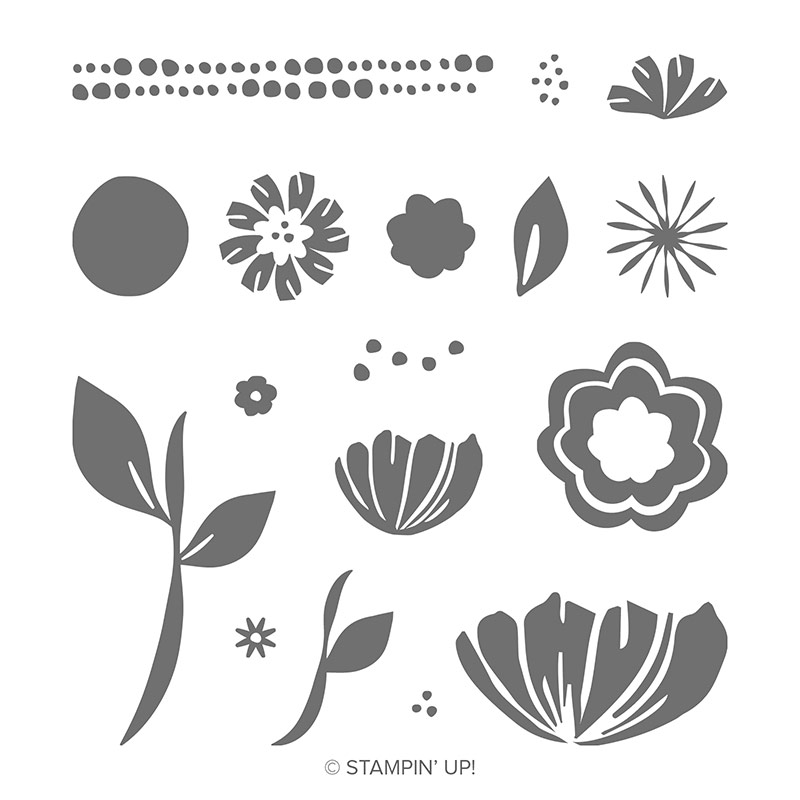
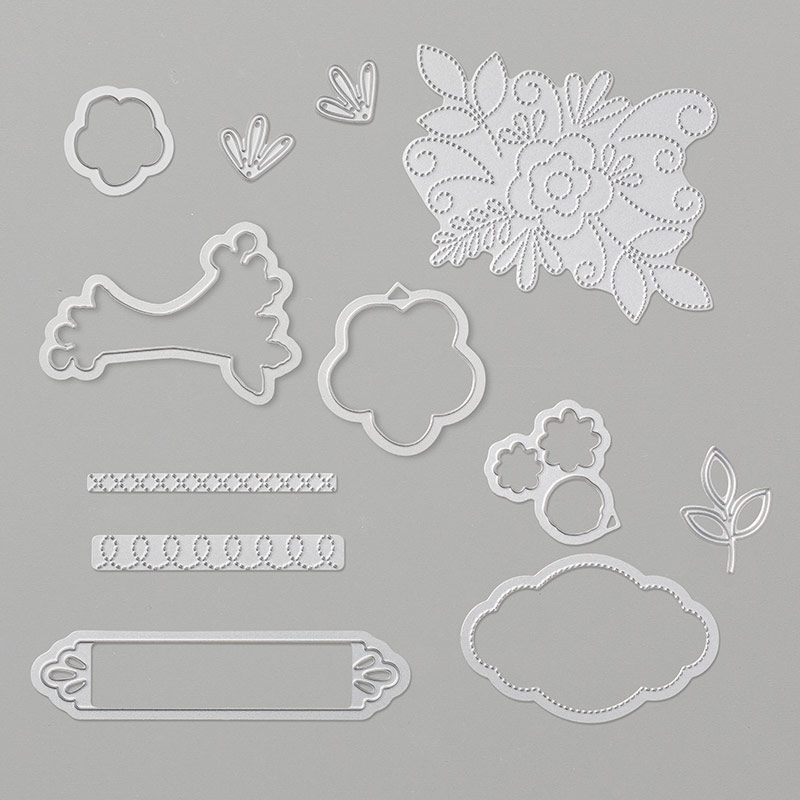
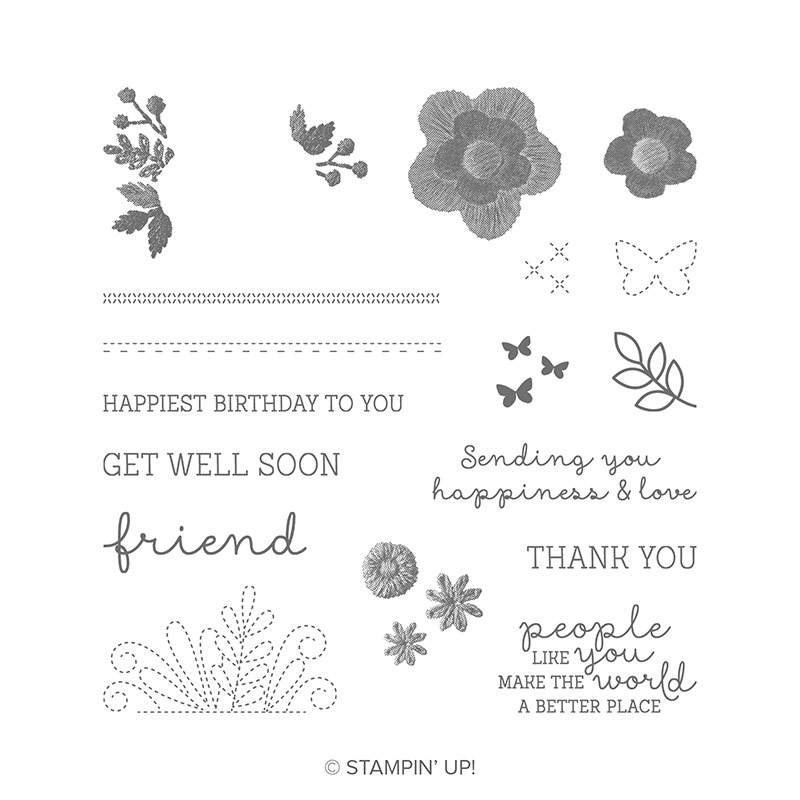
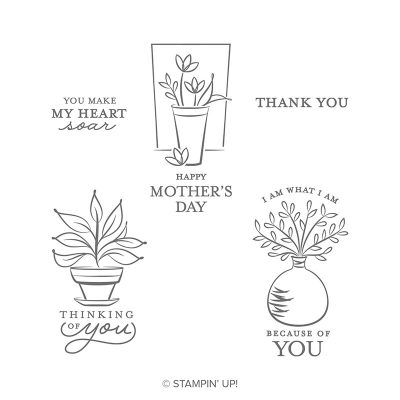
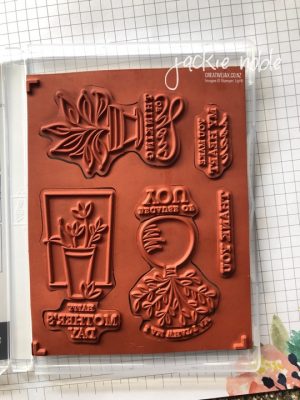
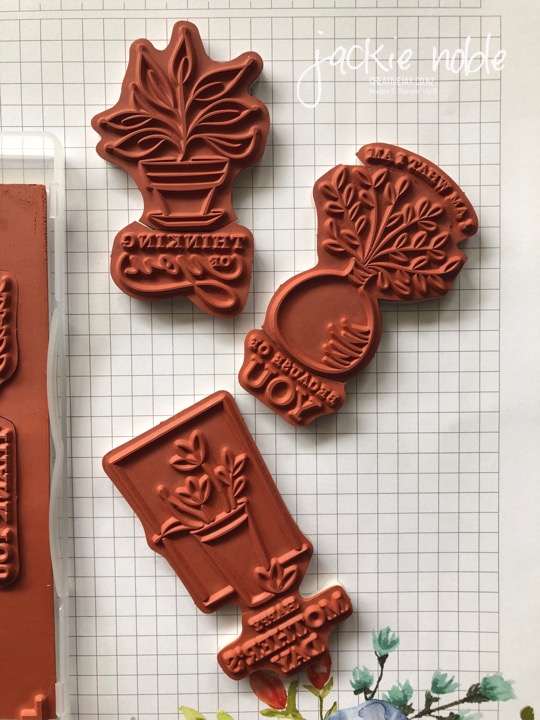
- Part of My Story Stamp Set (Sale-A-Bration FREE item – available till 31st March or while supplies last)
- Story Label Punch (Sale-A-Bration Co-ordination Promotion – available till 31st March or while supplies last)
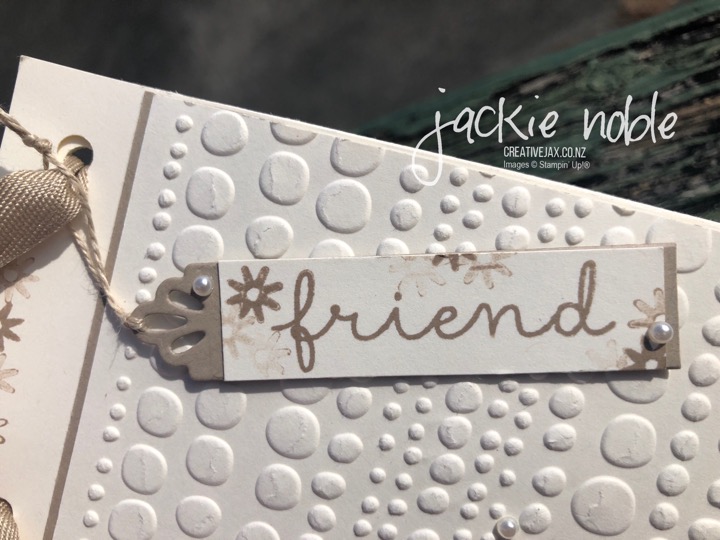
- Lace Dynamic Textured Impression Embossing Folder
- Blackberry Bliss Classic Stamp Pad
- Frosted Flower Embellishments
- Floral Romance Seals
- Petal Pink/Whisper White 5/8″ (1.6cm) Variegated Ribbon
- Gold Stampin’ Embossing Powder
- Share What You Love Artisan Pearls
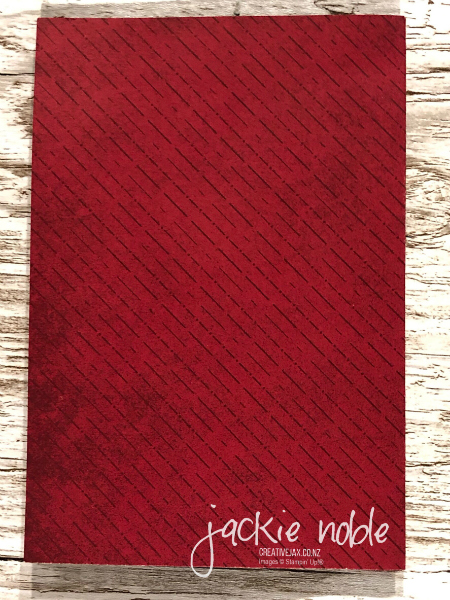
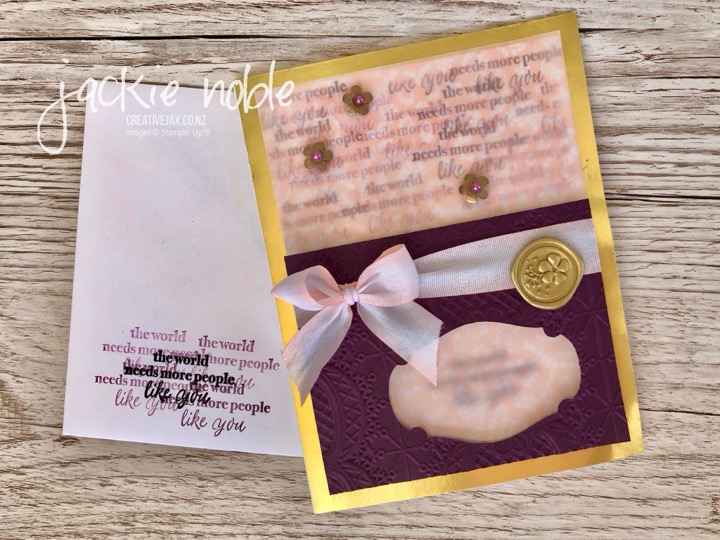
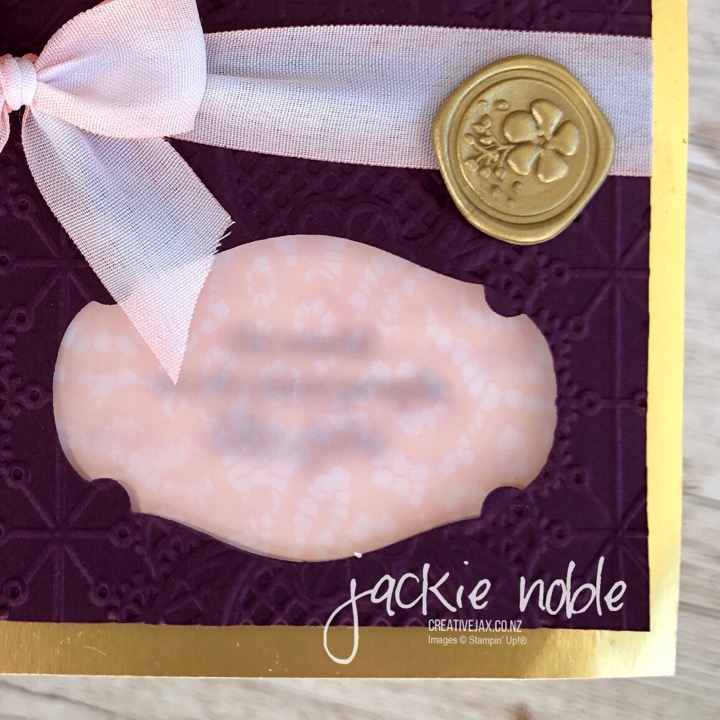
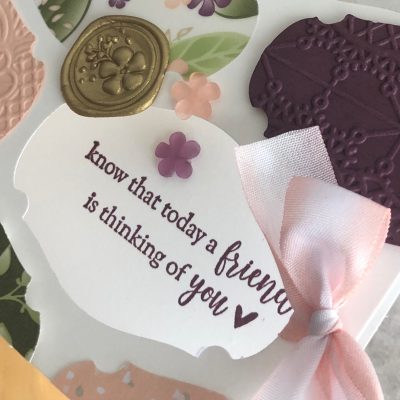
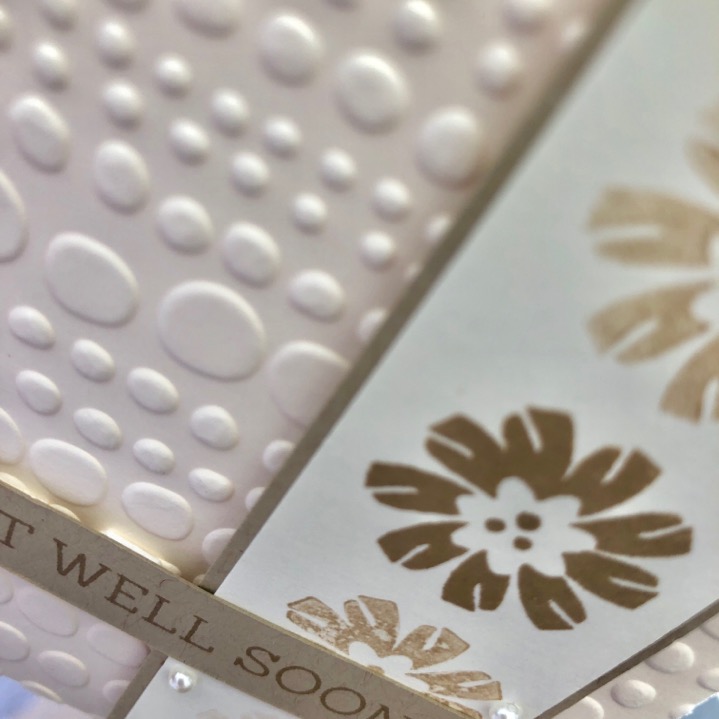
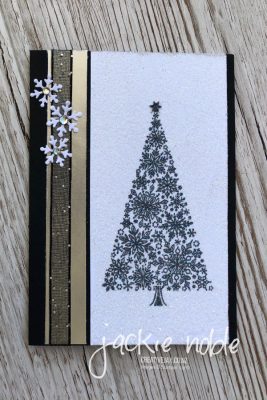
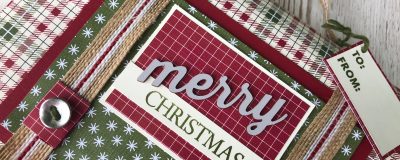
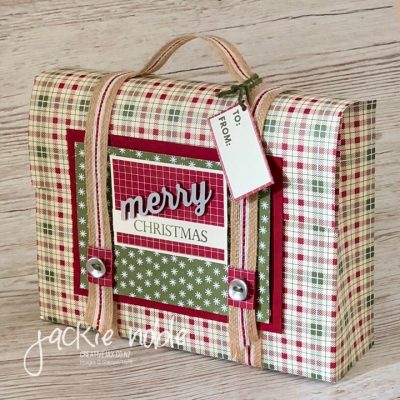
I first embossed the piece of Blackberry Bliss Cardstock using the Lace Dynamic Embossing Folder and Big Shot. I then temporarily positioned this onto the front of the Gold Foil-Edge Card and punched the Story Label Punch through both layers. After punching I separated the Blackberry Bliss from the card base.
I cut a second Gold Foil-Edge Card in half, and adhere the front of it to the inside of the card base. This gave me a foil edge on the inside as well as the outside.
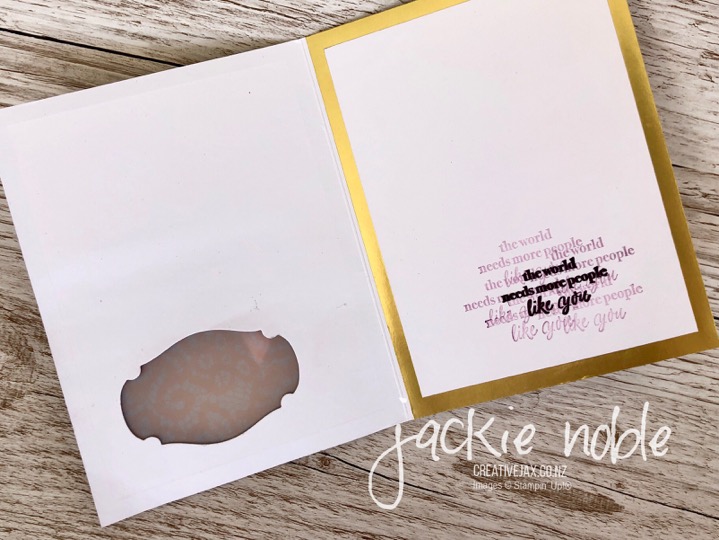
Using a sentiment from the Part of My Story Stamp Set and Blackberry Bliss Ink, I stamped through the punched out shape in the card front onto the inside of the card. I opened the card and using the “stamping off” technique (stamping several times between reinking), added a cluster around the darkest image.
The Part of My Story Stamp Set is one of the FREE products you can earn during Sale-A-Bration. It is a versatile set and I have used it for cards as well as in my memory keeping and scrap-booking.
We are into the last month of Sale-A-Bration, so if you want this – or any of the other FREE Sale-A-Bration products – you only have until the end of March. You can see all the products available to earn free HERE
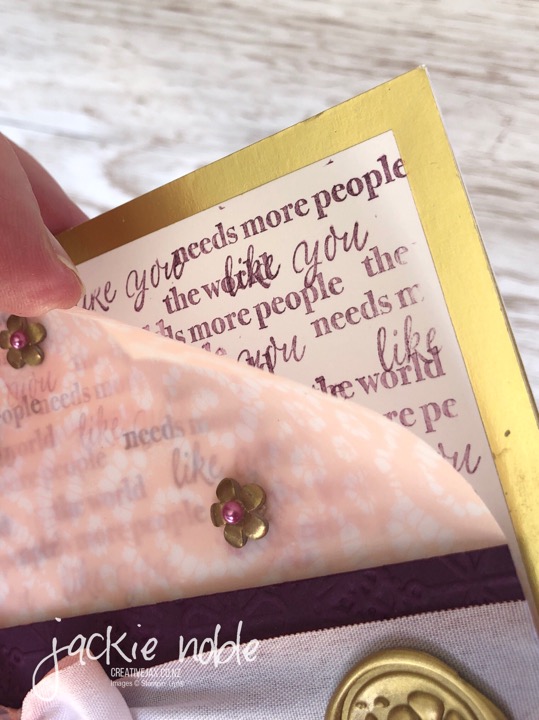
The Stampin’ Off technique was also used over the top half of the card front, The piece of Vellum was adhered to the card front using Snail Adhesive with adhesive only on the bottom half. This meant the adhesive would not be visible through the vellum as the Blackberry Bliss card would be over the bottom half.
After tying a piece of ribbon around the Embossed Blackberry Bliss card stock it was adhered using Stampin’ Dimensionals, taking care to line up the punched shape on the Blackberry Bliss with the punched out shape on the card base. The sentiment on the inside is then visible through the vellum when the card is closed. A Floral Romance Gold Foil was added.
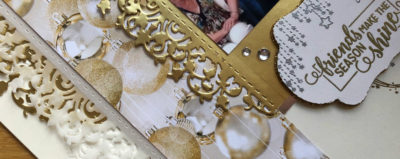
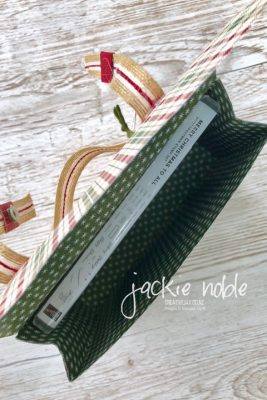
I gold embossed three of the clear Frosted Flower Embellishments, placed them onto the vellum and added one of the Share What You Love Artisan Pearls to each. Heat embossing your embellishments can give you so many more options to use them!
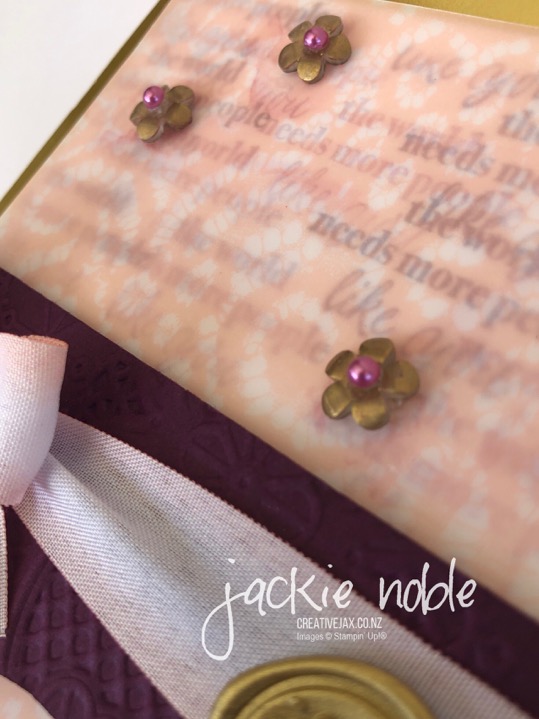
Behind each of the embossed Frosted Flower Embellishments I added a glue dot to stop the top half of the vellum from drooping. I find Embellishments a great place to “hide” adhesive when I’m working with vellum!
To tie everything together I did some stamping on the front of the co-ordinating Gold Foil-edged Envelope.
I love the shape of this limited release punch – remember you only have until the end of the month to get yours. Here’s the link.
How to get the Tutorial Bundle
SHOP WITH ME
BUY THE TUTORIAL BUNDLE
Purchase the March Tutorial Bundle for $NZ21
BE a thINK CREATIVE TEAM MEMBER
REMEMBER
- If you live in New Zealand and would like a copy of the new catalogue, please contact me.
- If you live in New Zealand and would like a demonstrator to order through – I’d love to have you join my group of crafty customers. Let’s journey together! – Shop Now or contact me.

- If you live in New Zealand and would like to know more about becoming a demonstrator – Check out the info HERE. I’d love to have you join my thINK Creative Team!
Until next time

As always – if you wish to know anything more about info in this post, or to get a catalogue, or to join my thINK Creative Team, or to buy any of the items mentioned in the post – please contact me.
Or you can shop 24/7 at my online Stampin’ Up! shop – the table below shows you what products I used. Just click on each to see more information.
Please do use the hostess code to support creativeJax if you are ordering online!
Entering the Hostess code combines the value of online orders – which assists me to offer events and thank you’s for my customers and support charities such as Ronald MacDonald House and local events where I donate product and/or classes.
The current Hostess Code can be found at the top right of my webpage.
If your order is over $300, please
do not use this code
as You become the hostess and get the Rewards!
If you would like to find out about joining my Stampin’ Up! Team (thINK Creative) –
Please do get in touch – I would love to chat with you about that.


 Glittered Organdy Ribbon")


 Polka Dot Tulle Ribbon")